How to setup maintenance mode will be the question in your mind, and also why.
Maintenance mode is a page, message, or status. That will replace your website, and it shows that your website is under maintenance mode or any other message you want to show.
This page will inform your visitor that this website is currently unavailable and live soon. You can display estimation when your website will live again in the form of a timer.
When the maintenance mode is on then WordPress will use the “wp_maintenance function and creates a .maintenance file that contains the message”.
After completing your design work or any update on websites, you can cancel maintenance mode, and your website works normally.
Why maintenance mode is used
This will be the main question in your mind. Why we need to use maintenance mode.
Because if we are changing our website design or any theme update, on that basis our website should not open.
We can provide special messages or just a maintenance mode.
So that’s why we use maintenance mode on WordPress.
Also Readable.
- Best Gaming Laptop under 80,000 in India 2020
- 10+ Best SEO friendly & Responsive Blogger Templates 2020
How to set up a maintenance mode for WordPress
Set up maintenance mode on the WordPress site.
- WordPress Plugin.
- Hosting provider or in cPanel.
WordPress Plugin (WP Maintenance Mode)
This method is dedicated to those who want to activate maintenance mode, without touching a single line of code.
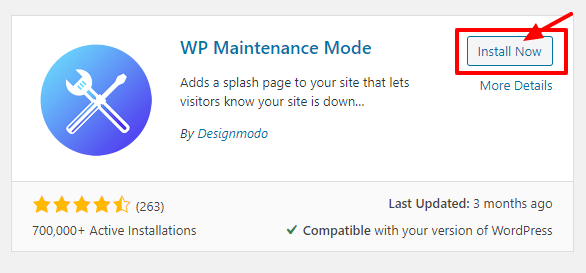
1.) Go to your WordPress dashboard and under, Plugin section click on add new. And search for Plugin called WP Maintenance Mode. Once found click on Install Now, then wait for installation.

2.) Once installed the button change to Activate, then you need to click on it.

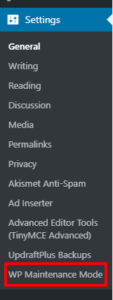
3.) After the activation, configure the plugin’s settings and turn it on. To do this go to your right tab and choose Settings WP Maintenance Mode.

4.) Fill all your preferred details under the General tab, choose background image or color, and customize the maintenance messages under the Design tab.

5.) To enable the maintenance simply choose Activated mode in general settings and press Save settings.
6.) When the plugin is activated, all users will see the maintenance page.
- How to download youtube videos | Mobile, IOS & Computer
- 7+ Best Gaming Monitor under 10000 in India 2020
Hosting provider or in cPanel (On Hostinger)
It is a better and easier method to put maintenance mode on WordPress sites.
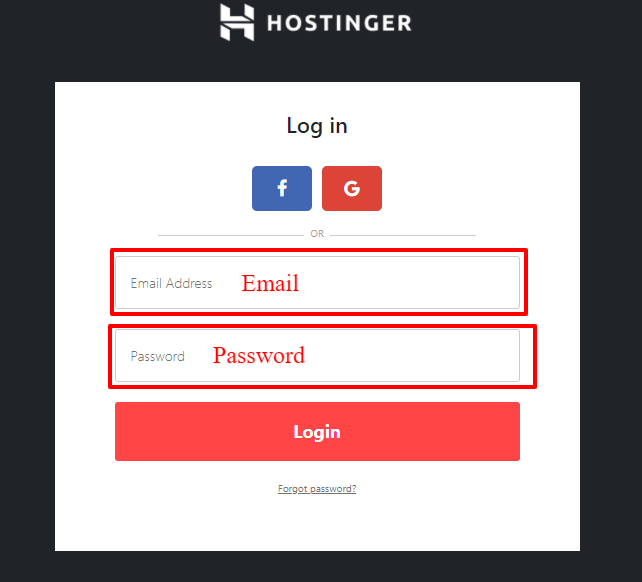
1.) Login to your hosting providers cPanel.

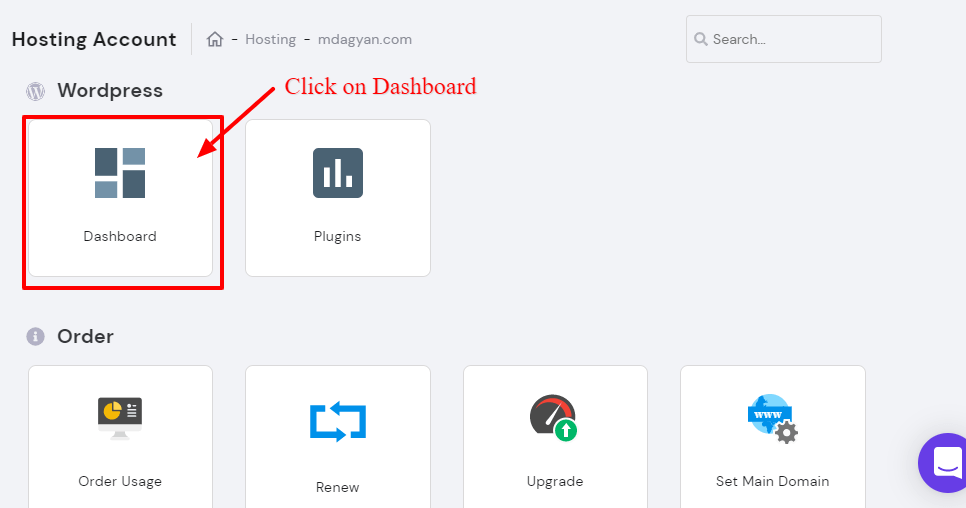
2.) After login in go to website management.

3.) After clicking the manage button, click dashboard

4.) In your hosting dashboard, you will get the Maintenance mode slidable button

5.) After enabling Maintenance mode your site look like this

conclusion of this Post
In this post, we provided deeply on How to set up maintenance mode, on a WordPress site Without coding. With the help of 2 method
- WP Plugin.
- Through cPanel.
This is how you can turn ON & OFF maintenance mode.
